What We Did This Week
August 21, 2025
Our stars had fun learning about traffic lights through movement and art. We played Red Light, Green Light and made our own traffic light crafts. These activities helped children explore how traffic signals keep us safe while practicing important school-readiness skills.
Red Light, Green Light Game
Children took turns being the “traffic light,” calling out green light (go), red light (stop), and yellow light (slow down). Friends listened closely and moved across the room or playground based on the call.
What Our Stars Learned
• Listening and following directions
• Body control and coordination
• Taking turns
Traffic Light Craft
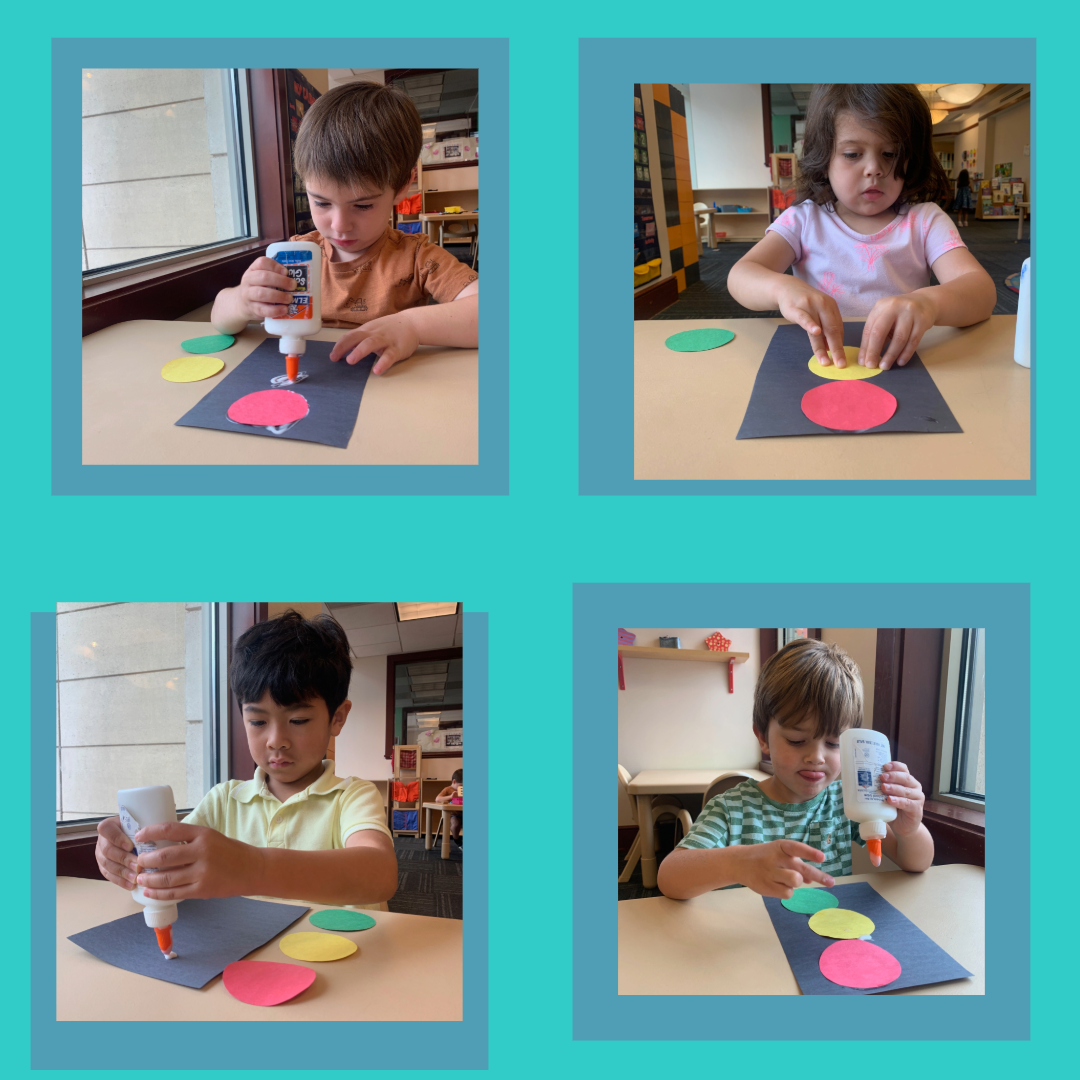
After the game, we created our own traffic lights using paper and glue.
Materials Used
Black construction paper (for the base)
Red, yellow, and green circles
Glue
Crayons or markers
August 22, 2025
Ice Boats!!
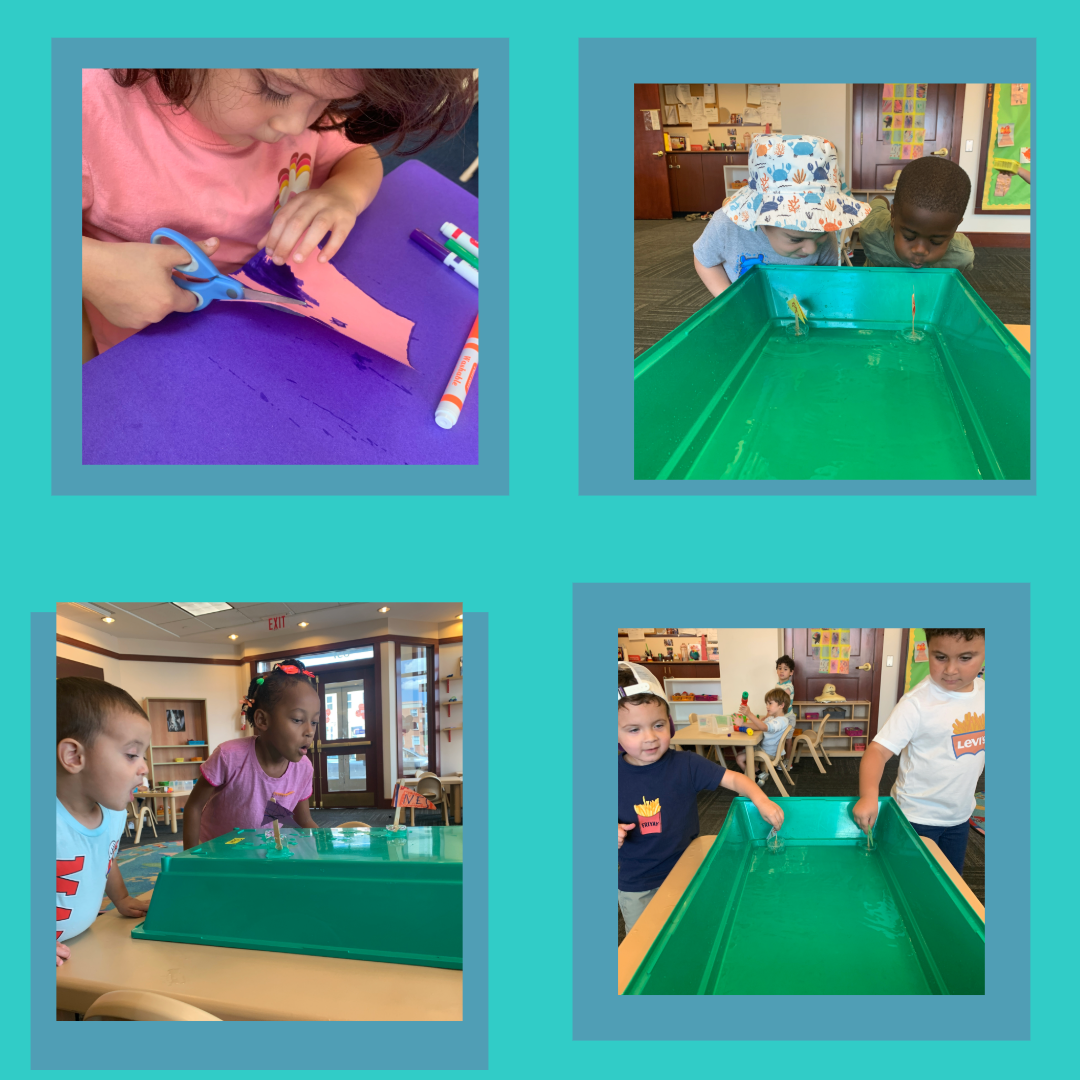
Today, we turned into engineers and sailors as they created and raced their very own ice boats! This exciting two-day activity combined science, creativity, and outdoor fun—and the results were so cool!
What We Did:
Yesterday, we began by filling small cups with an inch or two of water. Then, we placed a piece of foil over each cup and sealed it tightly. With a small slit in the foil, we carefully inserted a popsicle stick to serve as the boat’s mast. The cups went into the freezer overnight.
This morning, the real fun began! Each child decorated a paper sail with markers and attached it to their boat. Then we headed outside to race our frozen boats and watch them glide across the water table.
Materials Used:
Water
Freezer
6oz cups
Foil
Popsicle sticks
Paper
Markers
What Our Stars Learned:
Cause and effect – Watching water freeze and melt
Creative expression – Designing their own sails
Fine motor skills – Cutting, decorating, and assembling
Science exploration – Observing how ice moves and melts
This activity was a fun way to cool down and bring learning to life through hands-on exploration and teamwork.
July 30th, 2025
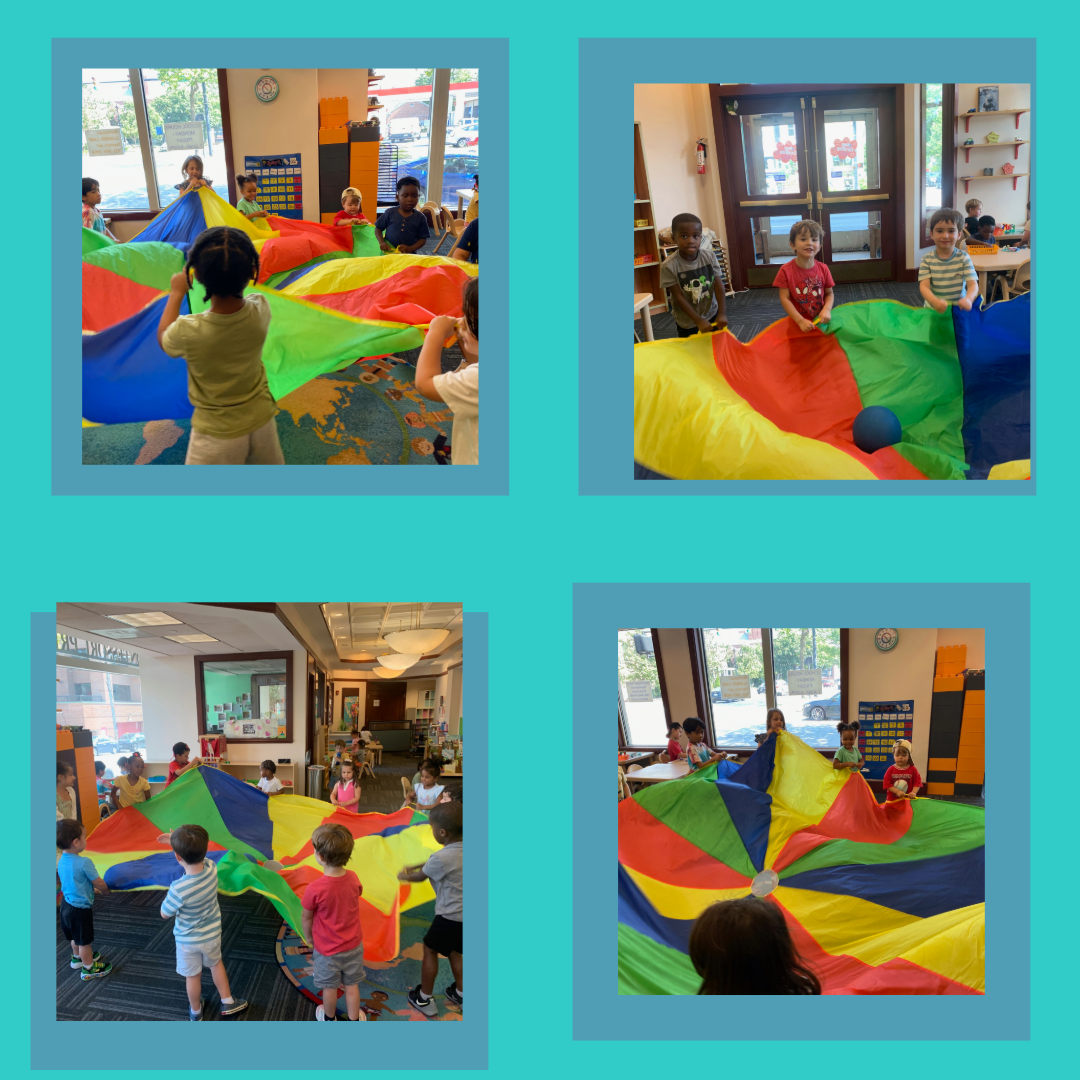
Today, our stars had a blast during Parachute Games—a playful and energetic activity that brought the whole class together in teamwork and fun! Using a large, colorful parachute, we imagined we were in a big sports stadium with cheering fans all around.
Our stars worked together to shake the parachute like a roaring crowd, bounced a soft ball high into the air, and practiced taking turns running underneath as the parachute floated down. The giggles were non-stop, and so was the learning!
What our stars are learning:
• Cooperation: Working as a team to move the parachute in unison
• Rhythm & Coordination: Following movement patterns like shaking, lifting, and lowering together
• Upper Body Strength: Using their arms and shoulders to control the parachute
• Imaginative Play: Pretending to be at a sports event built creative thinking and excitement
Parachute games are more than just fun—they teach children how to move together, communicate without words, and celebrate each other’s efforts


